Before starting the installation process, check the system requirements, supported OS and the pre-installation checklist. Double click the installer (which you can get here) to get started.
Accept the license agreement (if you agree to it after reading it…) and click next. Follow the steps of the installation process and take extra care about the following important installer screens.
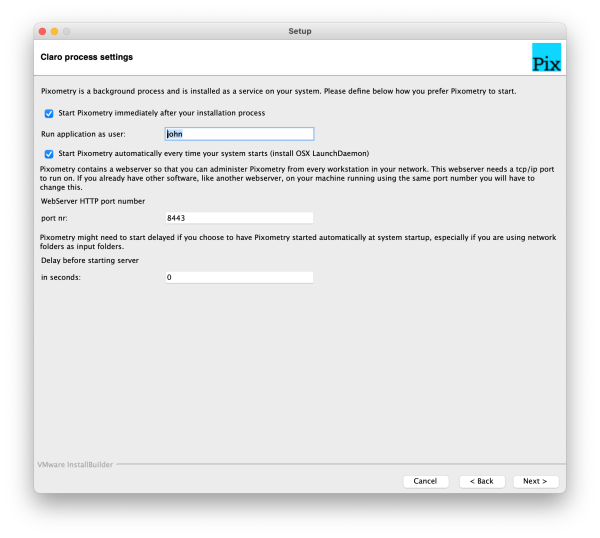
Run application as user
On MacOSX installation, the field is already filled with the user that is currently logged on the the machine, and is therefore running the installation process. In most cases this is just fine and it doesn’t need to be changed. However, if you plan to use hotfolders on the network, make sure that this user has read and write acces to those folders. Read more here.
WebServer HTTPS port-number
The Pixometry service / deamon has a built-in light-weight HTTPS server. It is used to run the user-interface and to enable the client applications to connect to the Pixometry server. This is the port-number on which the HTTPS service will run.
Windows only: select user account, password, domain
During the installation, you are requested to provide username, password and domain. The installer checks if the information provided is correct. This check fails if the user is non-local (i.e. active directory user). In that case, make these 3 fields empty and click next. The service will then be started with local system account. The local system account never has access to the network. So change this account after the installation is finished, in the services control panel of Windows. (open properties of the “Pixometry” service, and open the “logon” tab.) Read more here.
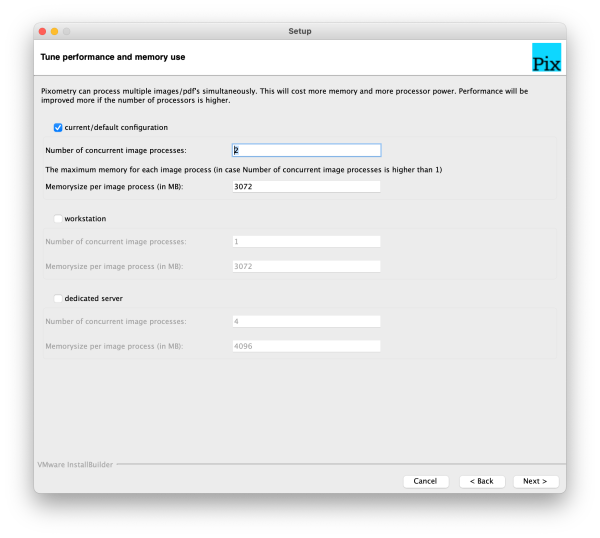
These settings are of vital importance to the performance of the system.
It is important to understand that Pixometry can be configured to use 1, 2, 3 or 4 concurrent processes. What this effectively means is that 1, 2, 3 or 4 images can be processed simultaneously. In order to use multiple concurrent processes, you need the system resources to support it. I.e., to run 2 concurrent processes, you need at least 4 processor-cores and 10GB of RAM. To run 4 concurrent processes you need at least 6 processor-cores and 20GB of RAM. Luckily, the installer helps out by giving suggestions for workstation and dedicated server. If you choose workstation, you always get only one process, so that Pixometry does not use all of the available resources, and the workstation can be used for other applications too. With dedicated server, Pixometry will suggest the maximum number of concurrent processes and memory settings to maximise the performance. It is advised to use 4GB per concurrent process. Please select only one of the available checkboxes. If you select multiple checkboxes, you will get a popup message when you click “next” to indicate that you can only select one option.
In the last stage of the installation process, the user-interface opens.
It asks you if you want the Pixometry service to be started. Click “yes” to start the service and open the user-interface. You still have to finish the installation by clicking “next” and finally “finish”. You can start the user-interface also by double-clicking the Pixometry app in the installation directory, recognisable by the following icon:
![]()