Route files to one or more Pixometry processing channels (or folders, ftp addresses or email addresses) based on conditions.
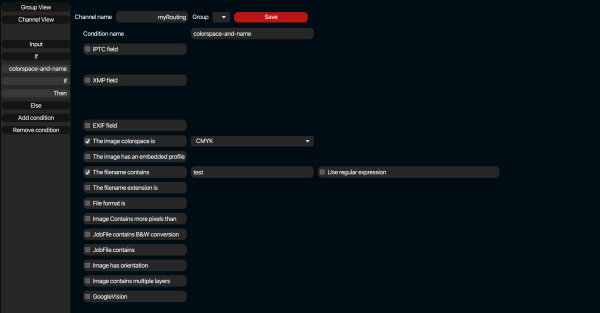
Multiple conditions can be combined (condition1 AND condition2 AND condition3). In other words all of the selected conditions must be true. See screenshot: image must be cmyk AND have “test” in the file-name.
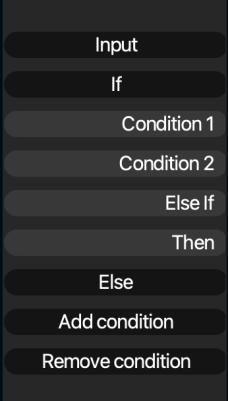
To work with “else if”, press the “add condition” button. This checks the conditions one by one and performs an action (“then”) on the file if the condition is true. See screenshot below:
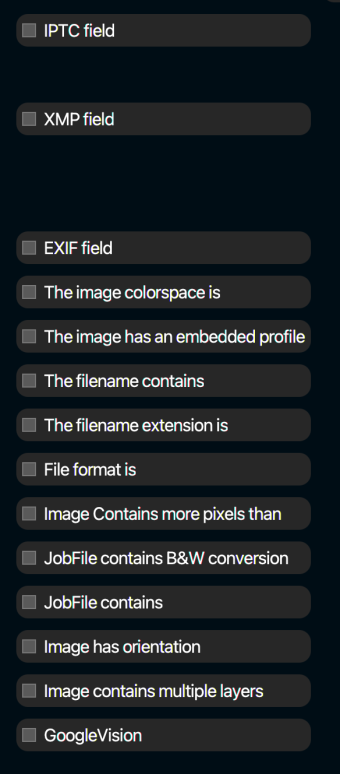
Conditions explained:
IPTC field
Route files based on contents of IPTC metadata:

Select a specific IPTC field from the drop-down menu or fill in the record number and dataset number of the IPTC field you wish to route on.
XMP field
Route files based on contents of XMP metadata:

In the example above, the condition basically is: is the image is processed by Pixometry channel “Print”?
XMP metadata is stored in XML form inside the image header. In the example above, the XMP field type is Simple. Below is a screenshot of the other options and an explanation of them:
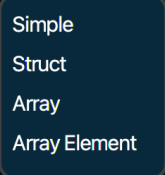
Simple: A single name/value pair. (I.e.: <claro:Channel>Print</claro:Channel>)
Struct: Multiple name/value pairs:
A <struct> contains <member>s and each <member> contains a <name> and a <value>. Example:
<struct>
<member>
<name>lowerBound</name>
<value>18</value>
</member>
<member>
<name>upperBound</name>
<value>139</value>
</member>
</struct>
Array:
| An <array> contains a single <data> element, which can contain any number of <value>s.
Here’s an example of a four-element array: <array> <data> <value>Italy</value> <value>Egypt</value> <value>Germany</value> <value>USA</value> </data> </array> <array> elements do not have names. |
Array element:
If you choose type “Array” the entire contents of the Array is checked. To check a specific element in the Array, you can choose “Array element”. in XMP, array element numbers start with 1. So Array element 1 contains “Italy” will be true.
Examples based on XMP metadata written by Pixometry:

If the image was processed with a contrast level smaller than 0….

If “IMPROVE Sharpening” is found somewhere in the complete claro:Logging array, this condition is true. Searching in a specific element of an array is also possible:

The image colorspace is
Route images based on the colorspace they are in (RGB, CMYK, …..)
The image has an embedded profile
Route images based on whether they have an embedded profile or not.
The filename contains (use regular expression)
Check the filename for the occurrence of the specified string. Optionally use regular expressions for more complex filename checking.
Image contains more pixels than
Check for the number of pixels. Options in screenshot below (example image: 1024*768 pixels):
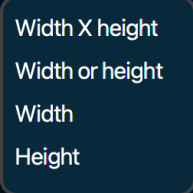
Width X height: total number of pixels (786432)
Width or height: longest side (1024)
Width: 1024
Height: 768
JobFile contains B&W conversion
When working with xml job tickets (see: Pixometry integration options (for developers/integrators)) and if the job ticket contains the task to convert the image to grayscale.
JobFile contains…
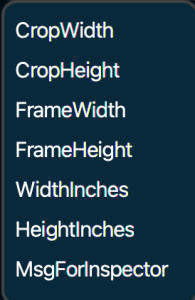
CropWidth: Where the crop frame starts in number of pixels from the left side of the image
CropHeight: Where the crop frame starts in number of pixels from the top of the image
FrameWidth: The width in pixels of the specified crop frame
FrameHeight: The height in pixels of the specified crop frame
Image has orientation
Check for the orientation of the image, options below:
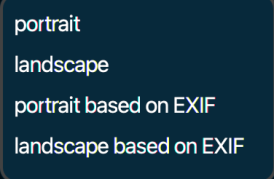
Portrait: image height > image width
Landscape: Image width > image height
…based on EXIF: Image may not be physically rotated, but the camera metadata (EXIF) says that it is a portrait or landscape image.
Image contains multiple layers
PSD or TIFF files may contain multiple layers. This condition checks if there is more than one layer in the file.
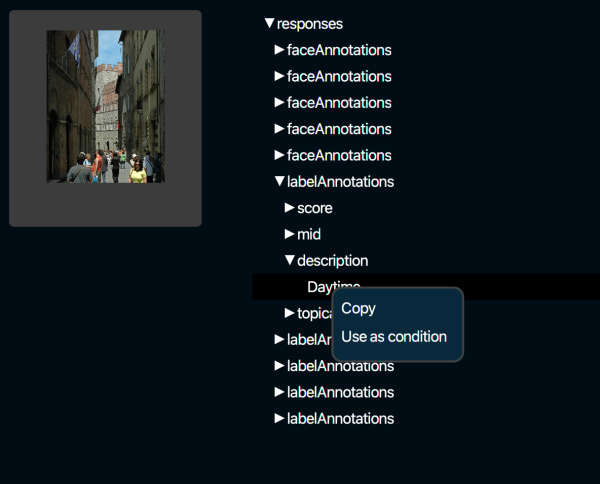
Google Vision AI

To know more about Google Vision API, read here. Route files based on metadata retrieved from Google Vision AI engine. You can drag&drop an image unto the cloud-and-arrow icon. This will give you the metadata structure in a separate popup screen. There you can select a field and use that as a condition. Use right-mouse-click on the content of the field that you want to use as condition and choose “Use as condition”. See the popup screen below.