Obtaining the installer and installing it on the client computer.
Obtaining the installer
There are several ways to open the download page. By URL in your favourite web-browser:
https://<Pixometry-server>:<portnr>/claro
Replace <Pixometry-server> with the host-name (computer-name) or ip-number. Replace <portnumber> with the HTTPS portnumber that Pixometry uses (by default this is 8443). For example:
https://pixometry-server:8443/claro
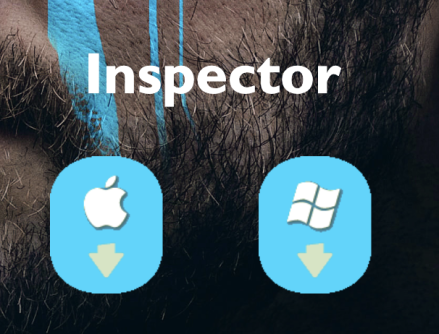
You can also click on this button in the user-interface, it will also bring you to the download page:

Choose the download for Windows or MacOSX:
Installation
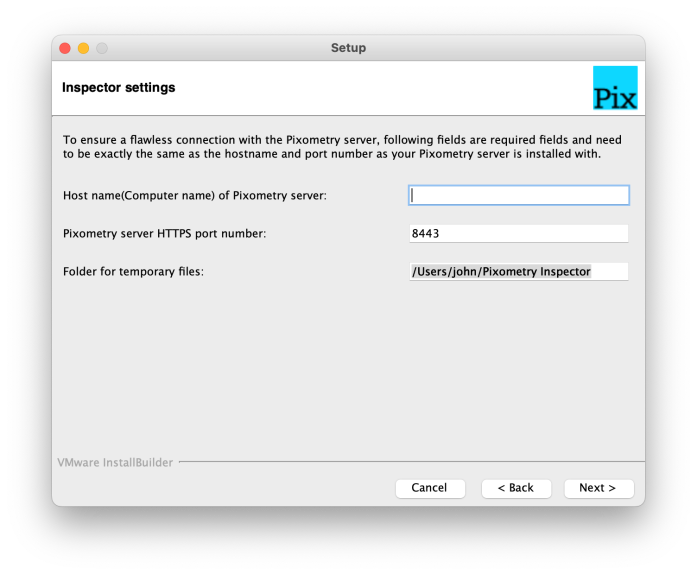
The installation of Inspector is very straightforward. Just follow the steps of the installer. Most important are the connection settings. The hostname or ip number of the Pixometry server needs to be provided and the https portnumber that the Pixometry server uses (8443 by default but this maybe different in your installation). See screenshot below.
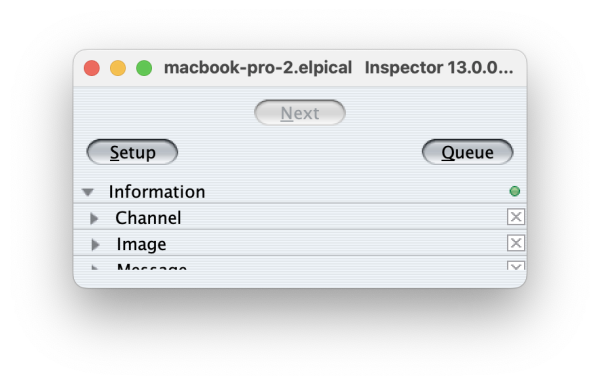
Checking the connection
After installation, start the Inspector by double clicking Inspector.exe (Windows) or Inspector.app (MacOSX). The green button in the screenshot below indicates that the connection with the Pixometry server is established. If the connection cannot be established there can be three reasons:
1. The Pixometry service isn’t up and running;
2. The hostname or IP address is incorrect or the hostname cannot be resolved to an ip address (dns issue).
3. The HTTPS port number used for the connection is incorrect or the port is blocked by a firewall or used by another application. This can be an issue on the workstation and/or on the Pixometry server.